
PLEASE NOTE: Don’t try to bend your applique without warming it with a hair dryer first as it will break.
Step One:
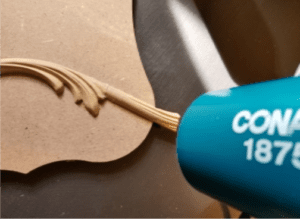
Before applying any glue, place your applique on your project and warm it. Even if your project and your applique both look flat, heating the applique will allow it to mold to the surface. Let it cool.
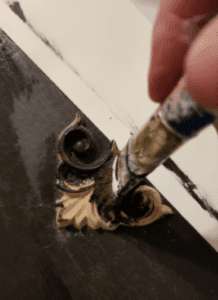
Step Two:
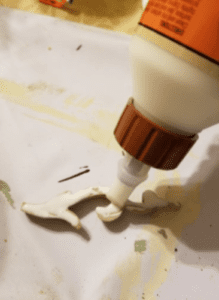
Use a good quality wood glue to adhere the molding to your project. Apply glue to the back of the molding and press it down gently. If some of the glue oozes out, wipe off excess with a q-tip or cloth.
Step Three:

Warm your applique again with the hair dryer as you are gently pressing it on. This is especially important if you are applying to a curved surface as your molding will become flexible again.
Step Four:
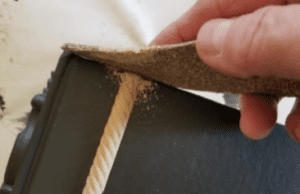
When the glue is dry, you can sand the edges of your molding if you need to. Be sure to blow the sawdust away before painting.
All done!
Now you’re ready to paint, stain, varnish, distress, crackle glaze, decoupage or any other technique you choose.